
What’s the best photo for a haircut simulator?
Use a sharp, eye-level photo of just you, facing the camera in even light. Include your whole head, both sides of your hair, your chin, and a little space above your crown. A plain background that contrasts with your hair makes the outline easier to see.
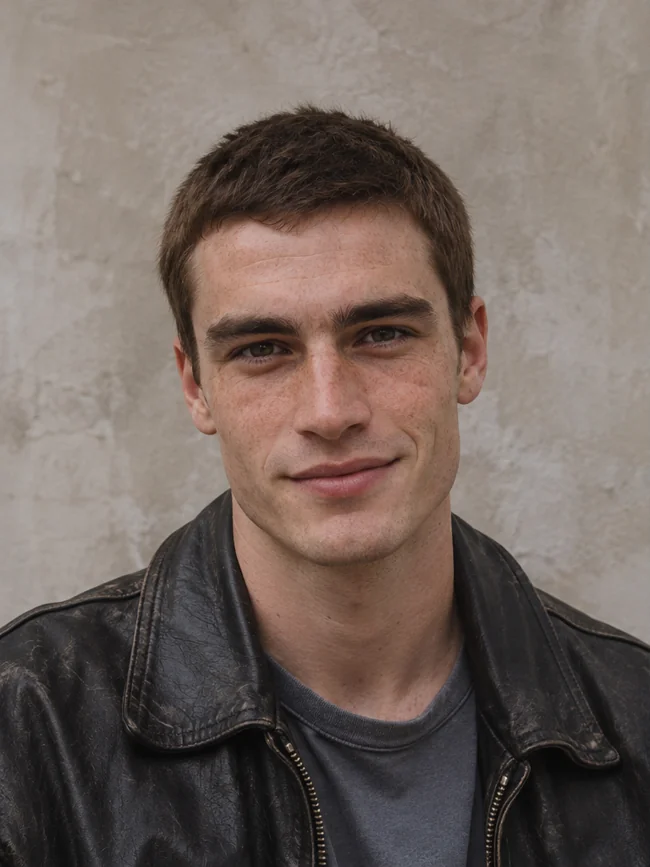
The same source portrait of a fictional adult, shown at two crops.
Take the photo in one minute
- Face a window. Stand where the light reaches both cheeks. If the window is behind you, turn around. Move away from direct sun if you see a hard shadow from your nose across one cheek.
- Hold the camera level with your eyes. Use the normal camera view. Set the phone on a shelf and use the timer if your arm is too short to include your head and shoulders. Leave space at the sides for the width of your curls or the ends of a bob.
- Let your usual hairline show. Take off a hat or headphones. Move hair that covers your eyes aside gently. Pulling it tight can change the shape at your temples. If you usually wear glasses, reduce lens glare so both eyes remain visible.
- Check the original at full size. Can you see the boundary between hair and wall on both sides? Can you see individual hairs near the part? Choose the sharp original from your camera roll over a filtered screenshot or a group-photo crop.
We used the wider portrait above for two SwapHair previews. Look at the original hairline, then compare how much forehead each cut leaves visible. See the original photo beside the curtains and mod cut results.
What should you change if the preview looks odd?
The top looks flattened. Check whether the source cuts off the crown. Step back and take a new photo. Zooming out of an already cropped image cannot recover the missing hair.
One temple looks very different. Check whether your head is turned or one side is in shadow. Face the lens squarely and move the light to the front. If the difference is your natural hairline, show it to the stylist in the original.
Dark curls disappear at the edges. Stand in front of a lighter wall and turn off any background-blur effect that softens fine strands. For very light hair, try a mid-tone wall. Reuse the same good photo for each style so a change of angle does not decide the comparison for you.
Which photo should you bring to the appointment?
Bring the original, the preview you like, and a real side or back reference if the neckline matters. A front photo gives the stylist little information about the back of your head.
“This is my own hair on a normal day. I like where the preview puts the fringe. Here’s a side picture for the length over my ear. Where would those ends sit with my hair air-dried?”